1. 添加自启动应用程序
1.1. 编译应用程序
这里假如客户的应用程序是HelloWord_Demo程序,工程目录如所示:
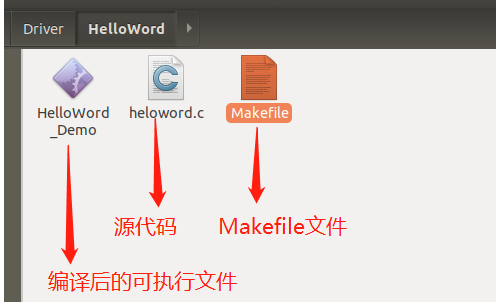
其中heloword.c是源程序,内容如下:
#include <string.h>
#include <stdio.h>
#include <stdlib.h>
#include <unistd.h>


int main(void)
{
	unsigned long i=0;
	printf("Hello word !\r\n");
	while(1){
		printf("I am a Count:%d\r\n",i++);
		sleep(1);
	}
	return 0;
}
Makefile内容如下:
.SUFFIXES : .x .o .c .s

CC := arm-linux-gcc
STRIP := arm-linux-strip

TARGET = HelloWord_Demo
SRCS := heloword.c

all:
	$(CC) -static $(SRCS) -o $(TARGET)
	$(STRIP) $(TARGET)

clean:
	rm -f *.o
	rm -f *.x
	rm -f *.flat
	rm -f *.map
	rm -f temp
	rm -f *.img
	rm -f $(TARGET)
	rm -f *.gdb
	rm -f *.bak
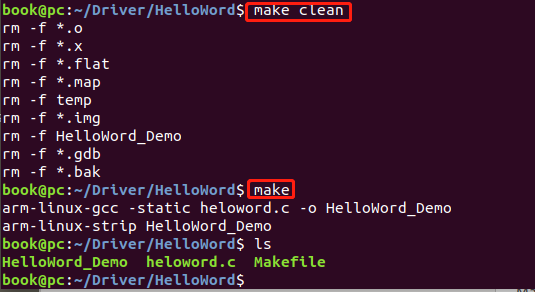
生成可执行文件:切换到工程目录执行:
make clean
make
如图所示
拷贝可执行文件到文件系统/usr目录
cp HelloWord_Demo ~/NUC970/rootfs/usr/
拷贝完后图所示:

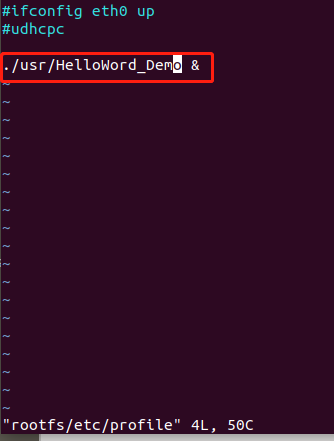
1.2. 修改开机启动脚本
执行如下命令,修改开机脚本
book@pc:~/NUC970$ vim rootfs/etc/profile
如图所示:

修改完后的内如图所示:
1.3. 打包文件系统
执行以下命令打包文件系统
book@pc:~/NUC970$ mkyaffs2 --inband-tags -p 2048 ./rootfs rootfs_yaffs2.img
如图所示:
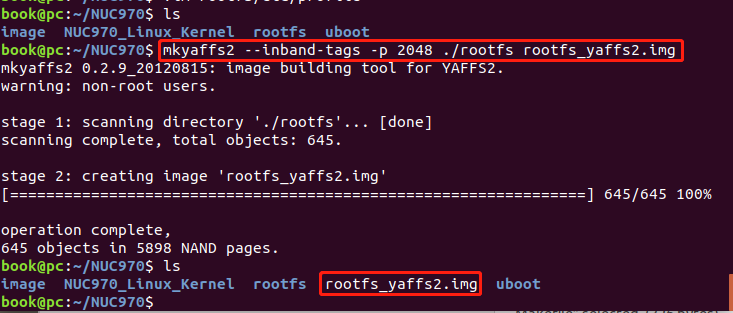
打包完后生成 rootfs_yaffs2.img文件系统镜像文件,下载到开发板0x1600000地址即可。
1.4. 验证
烧录完后,启动开发板,可以看到刚刚编译的HelloWord_Demo程序已经自己启动运行起来了。

备注:HelloWord_Demo应用程序代码下载地址:
链接:https://pan.baidu.com/s/1axdLazE-KyEauTbIx3D0GQ 提取码:oscm